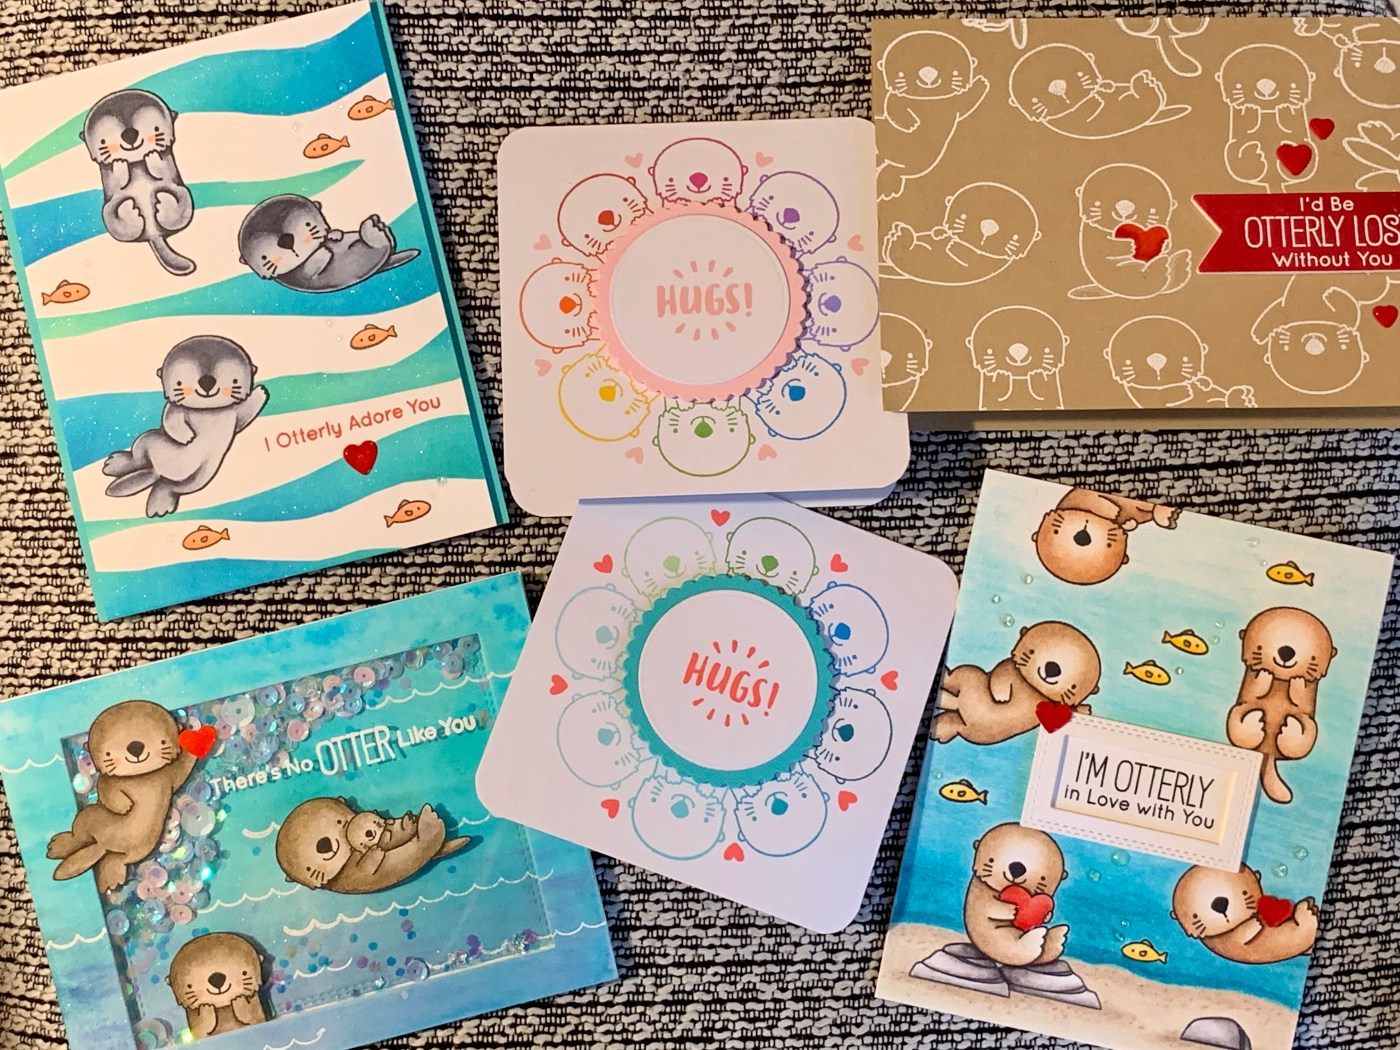
Happy Valentines Day Everyone! Today I’m going to share my otterly adorable Valentine day cards! Once again, I gave myself a challenge – To only use one stamp set and make cards using 5 different techniques. These cards feature the My Favorite Things BB Otterly Love You stamp set and a variety of techniques… I hope you enjoy!
1. Color Pencils and Gamsol
First up is the card I colored using my Prismacolor pencils and Gamsol. The whole image including the background was colored using this method. Now this was my first time using this technique and I found it so easy and forgiving. You just put color down (not perfect at all) and blend with Gamsol! This cards was fairly quick to make, first stamped the images, colored everything with pencils, and finished by adding the sentiment to the center of the card and popping up a frame around it! Oh and of course added some little hearts as well!
2. Watercolor and Shaker Card
For this second card, i colored everything using my Zig Clean Color Markers! These markers are so vibrant! I first made the background by scribbling varios blues onto watercolor paper, then sprayed it with water to let it all blend, and once dried, I white embossed the wave images that come with the set. To color the otter images, I stamped the images onto Bristol cardstock, colored using the markers, and fuzzy cut the images. To make this into a shaker card, I used a rectangle die on the watercolor background, added an acetate window to the frame where I white embossed a sentiment, and popped up the frame with foam tape.
 Side Note: This card is for my toddler and I just love it! I think he will like being able to shake the card!
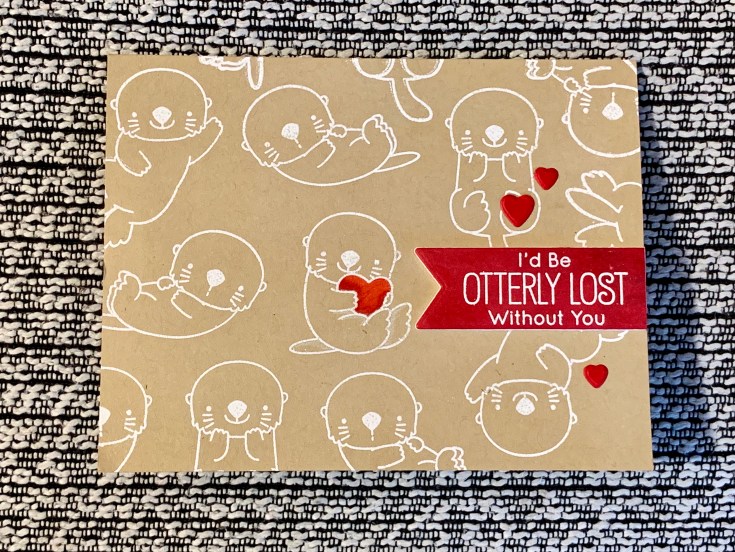
3. Heat Embossing
This third card was probably one of the simplest cards to make! I first stamped all of the otter images on the set using VersaMark ink onto craft cardstock and then heat embossed the images using Hero Arts white embossing powder. I also white heat embossed the sentiment onto a red banner that was popped up using foam. I finished the card off by coloring the one heart the otter was holding using color pencils and adding additional hearts as embellishments.
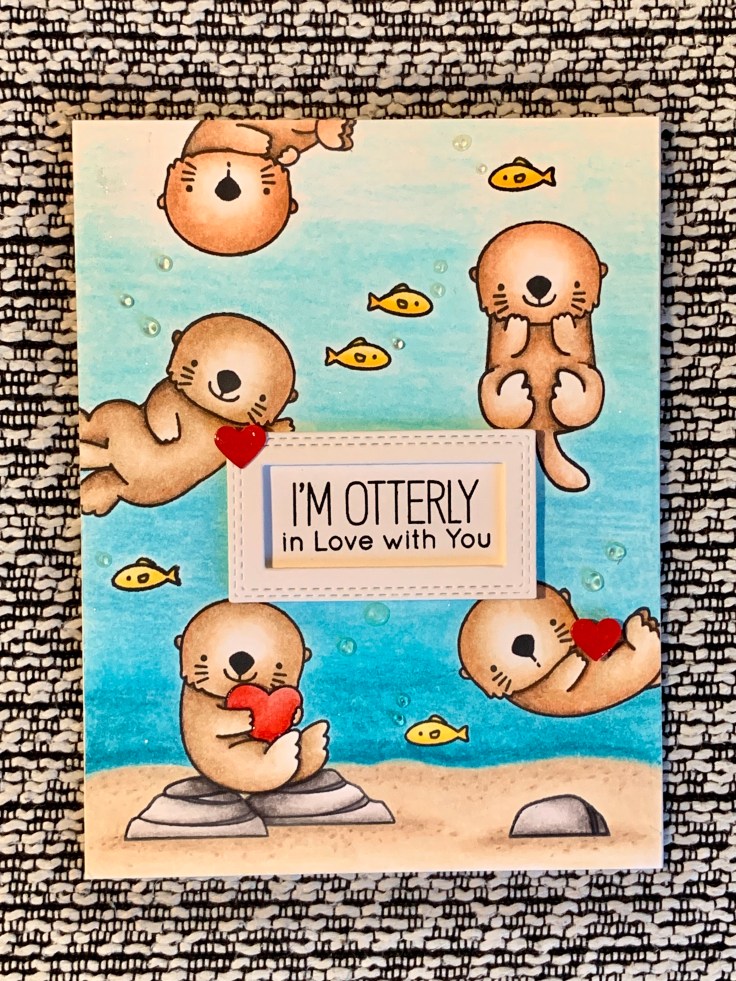
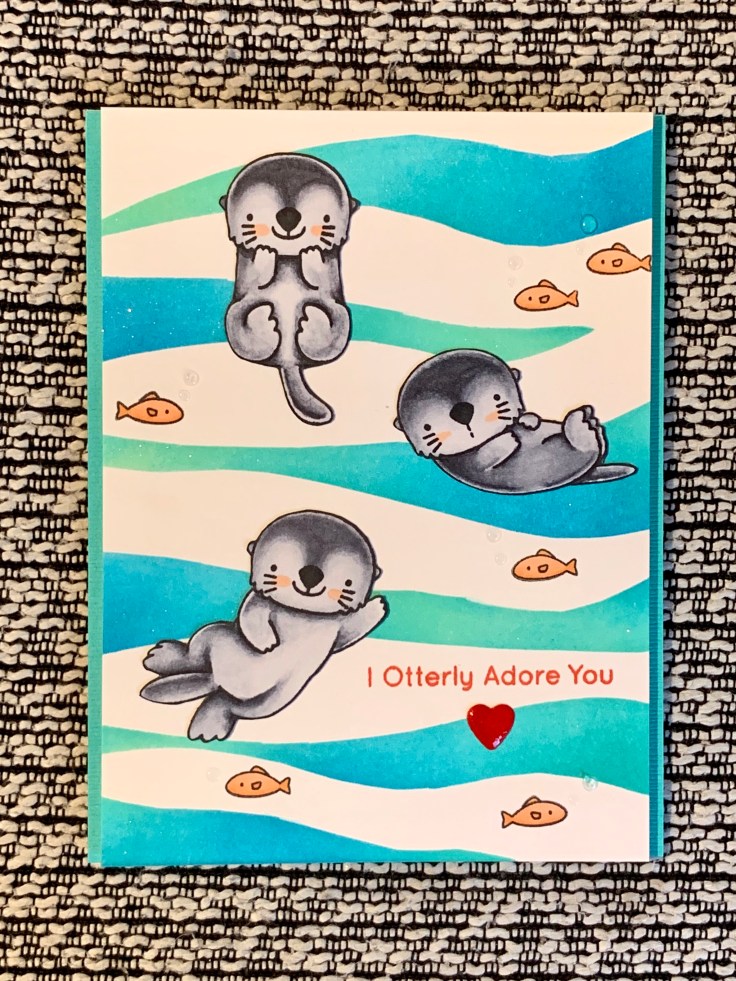
4. DYI Background and Copic Coloring
For the fourth card, I wanted to make a water background, but I didn’t have a stencil I could use. As such, I decided to make my own DYI background. I cut pieces of blue painter tape into wave like shapes and arranged the tape pieces onto white cardstock. I sponged the background with Distress Inks Cracked Pistachio, Peacock Feathers, and Mermaid Lagoon. I stamped, Copic colored, and fuzzy cut three of the otter images. I also stamped two of the fish images through the background, Copic colored them, and added clear glossy accents to look like bubbles. I finished the card by popping it up with some foam and adding wink is Stella to the background.
5. Small Notecards using a Wreath Builder
Lastly I made two cute small notecards for my toddler’s friends for Valentines Day. I wanted to do something simple that was really all about stamping. I decided to use the Gina K Wreath builder along with a number of the GinaK mini ink cubes to stamp two wreaths using one of the otter images; one in blue hues and one in a rainbow pattern. I also stamped a small heart using the wreath builder. To finish the card, I added a sentiment to a circle die cut which was glued on top a scalloped circle die.

It was fun challenging myself to use one stamp set to make all of these cards! The stamp set was perfect for Valentines Day! On that note, I made sure to incorporate a red accent on all of my cars which to me, it helped tie all these cards to a Valentine’s Day theme!
I hope you find inspiration on any of these cards and I can’t wait to give these to my family!
Thanks,
Yami

Leave a comment